How to Add Prepared Layers
CartoScope supports interactive multi-layer analysis. This guide shows how to add different types of prepared layers to your view.
Note
This guide covers prepared layers (background, factor, and gene layers).
For ROI layers, see How to Create a ROI.
1. Choose Layer Type
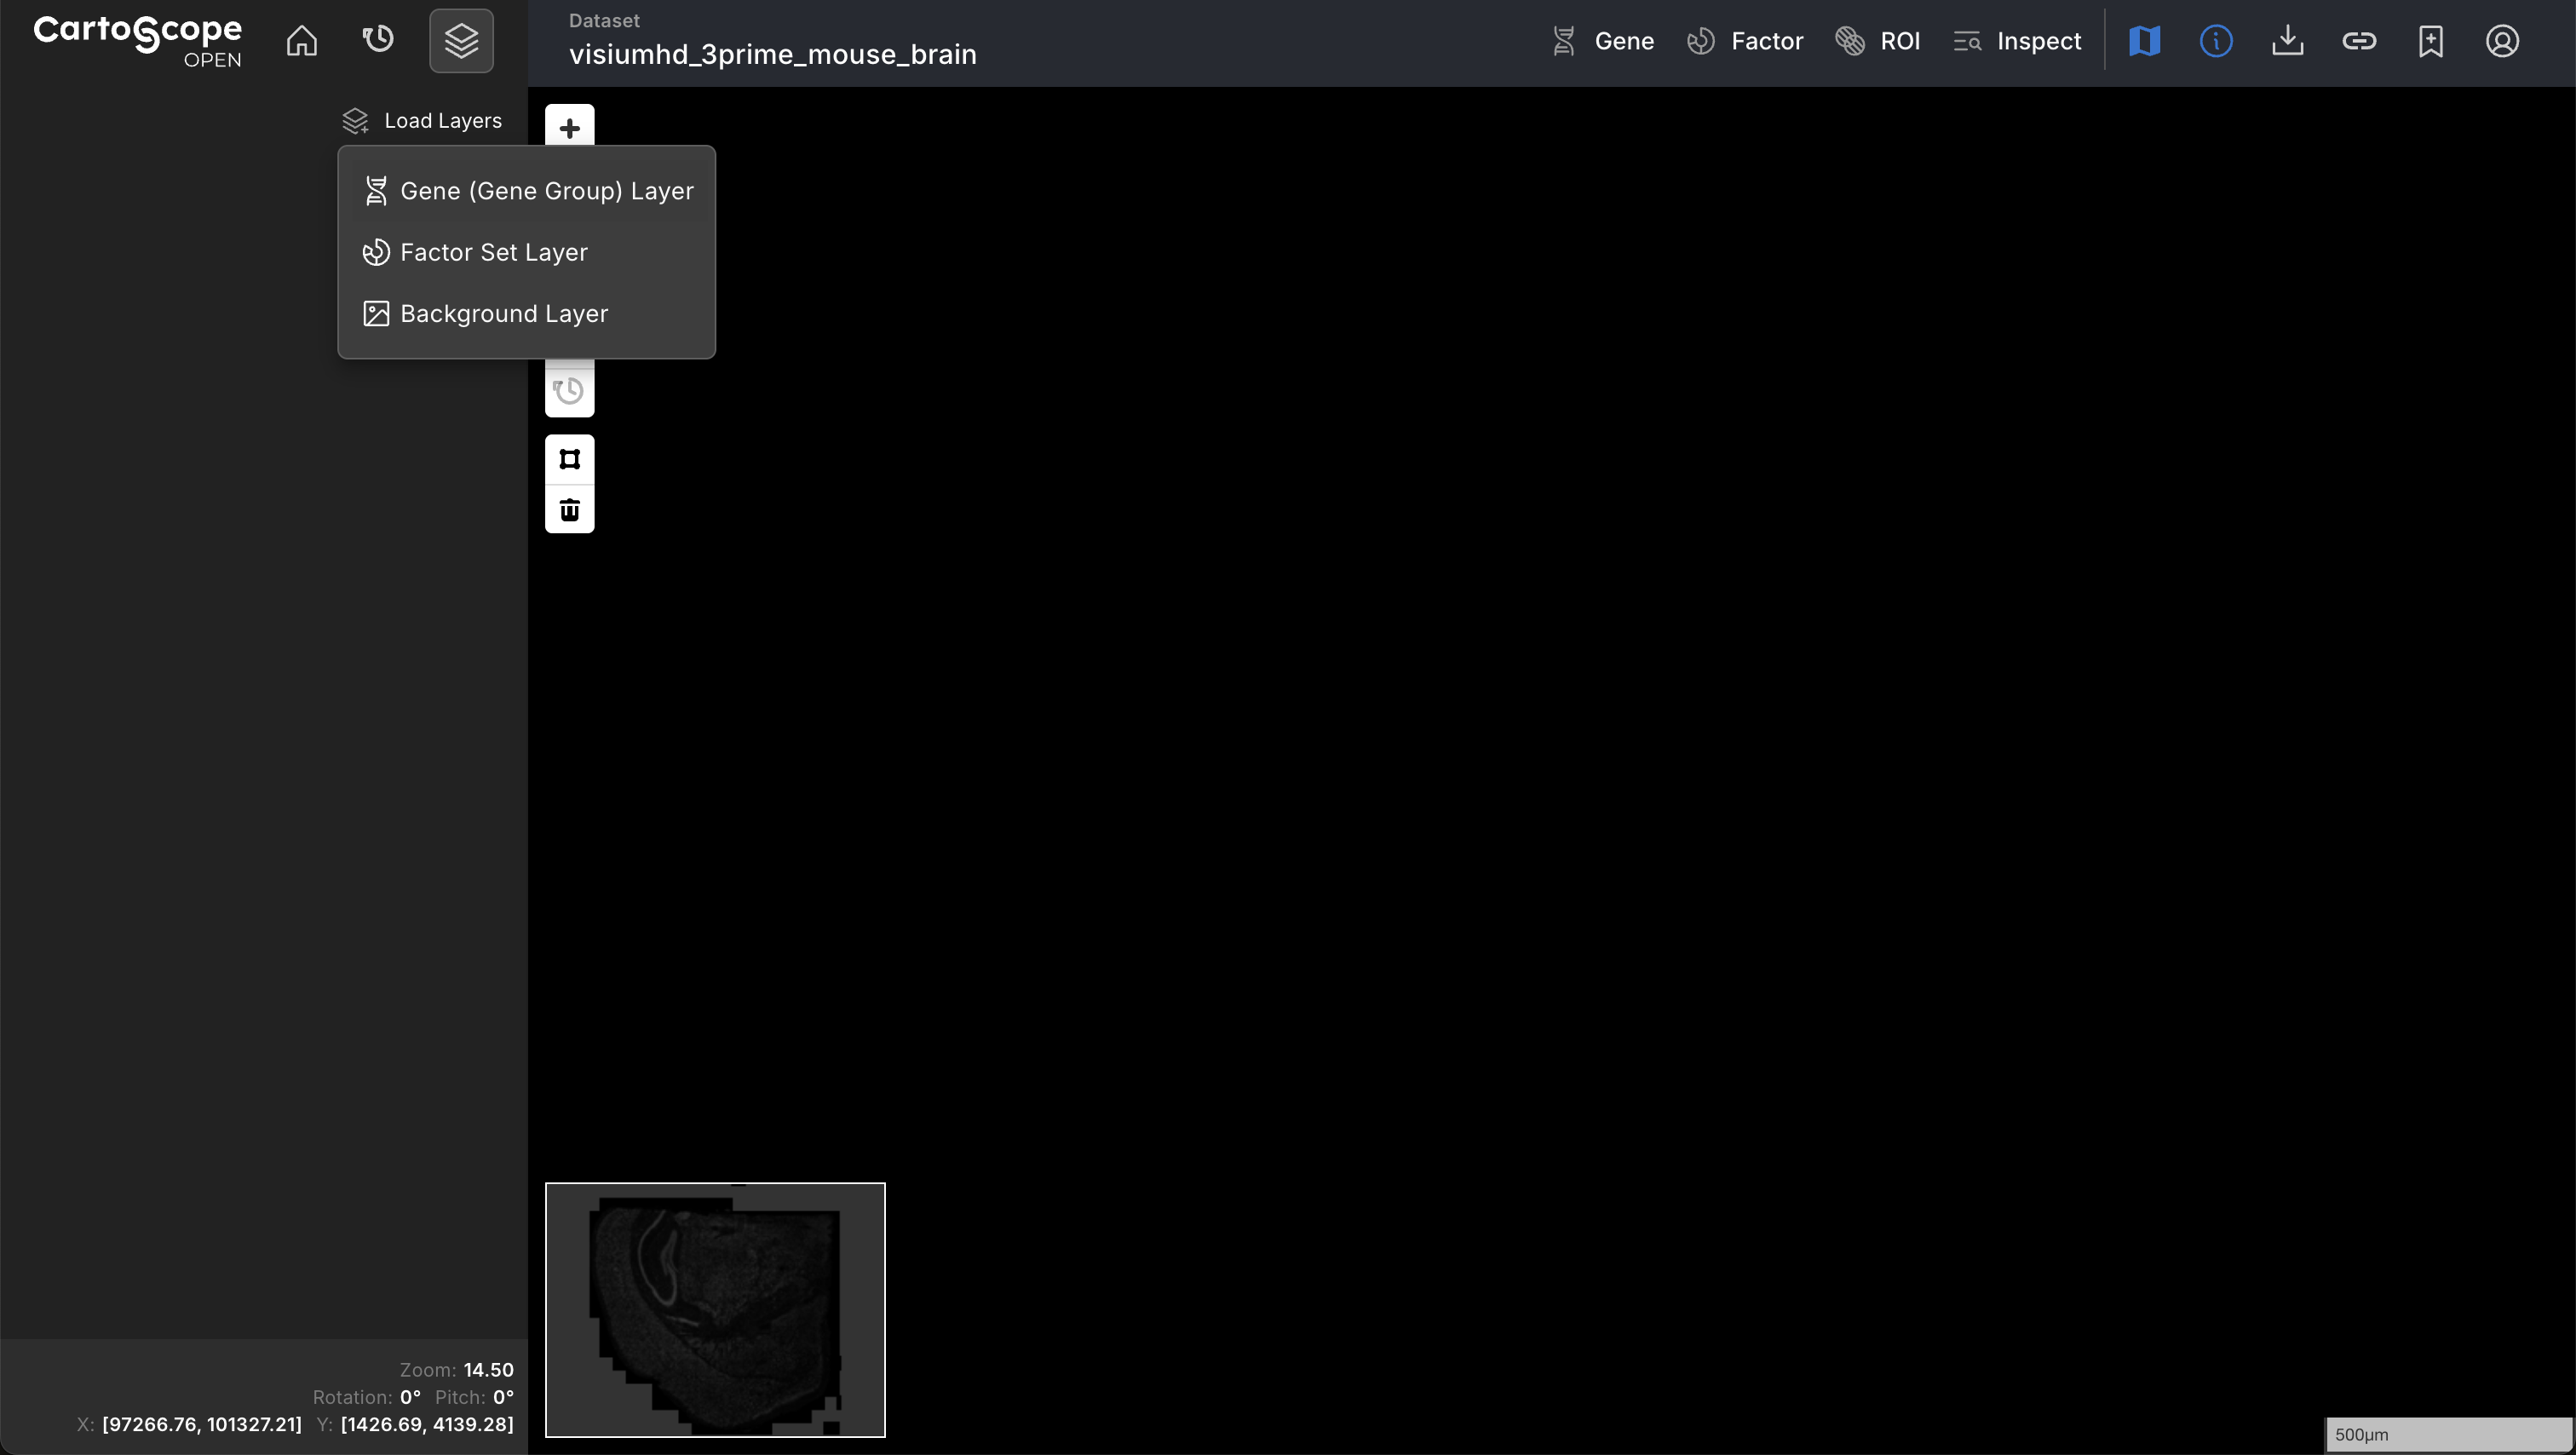
- Click the Load Layers button at the top of the Layer Drawer.
- Select the desired Layer Type from the dropdown menu.
2.1. Background Layers
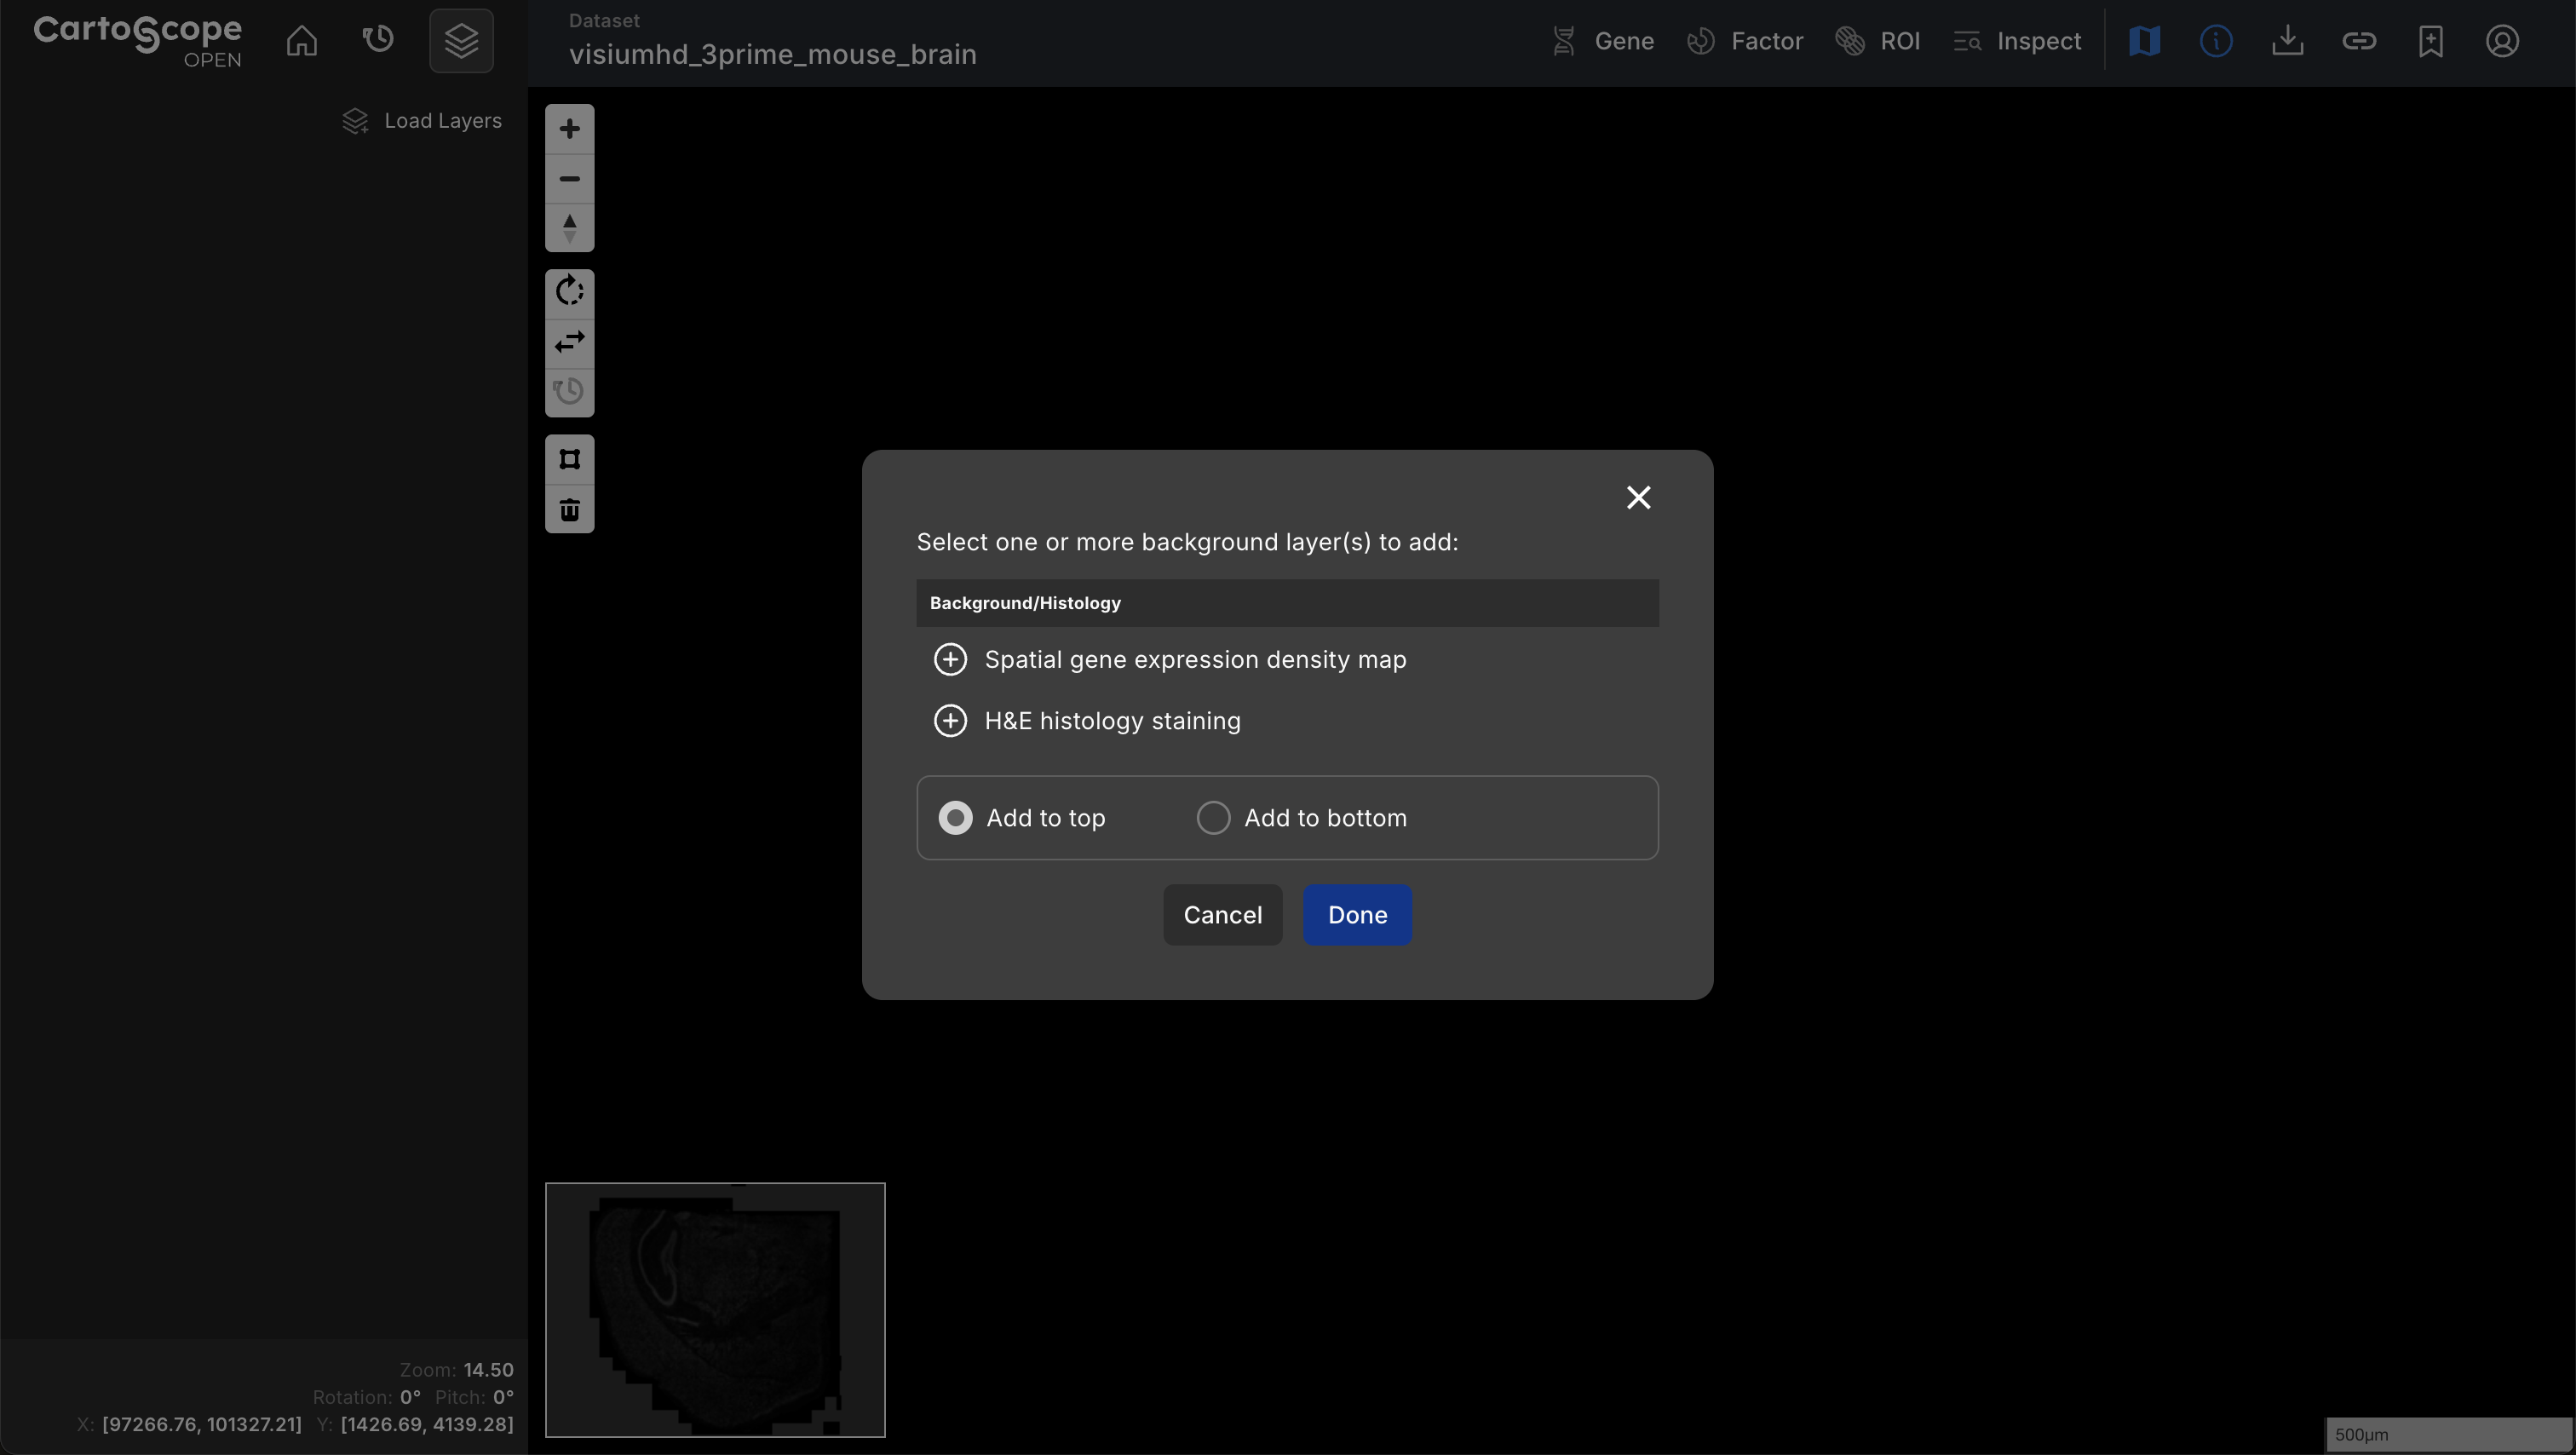
If you select Background Layer from the Load Layers menu, the Add Layer dialog will open.
You can add one or multiple background layers to your view by clicking the + button next to the layer name.
2.2. Factor Layers
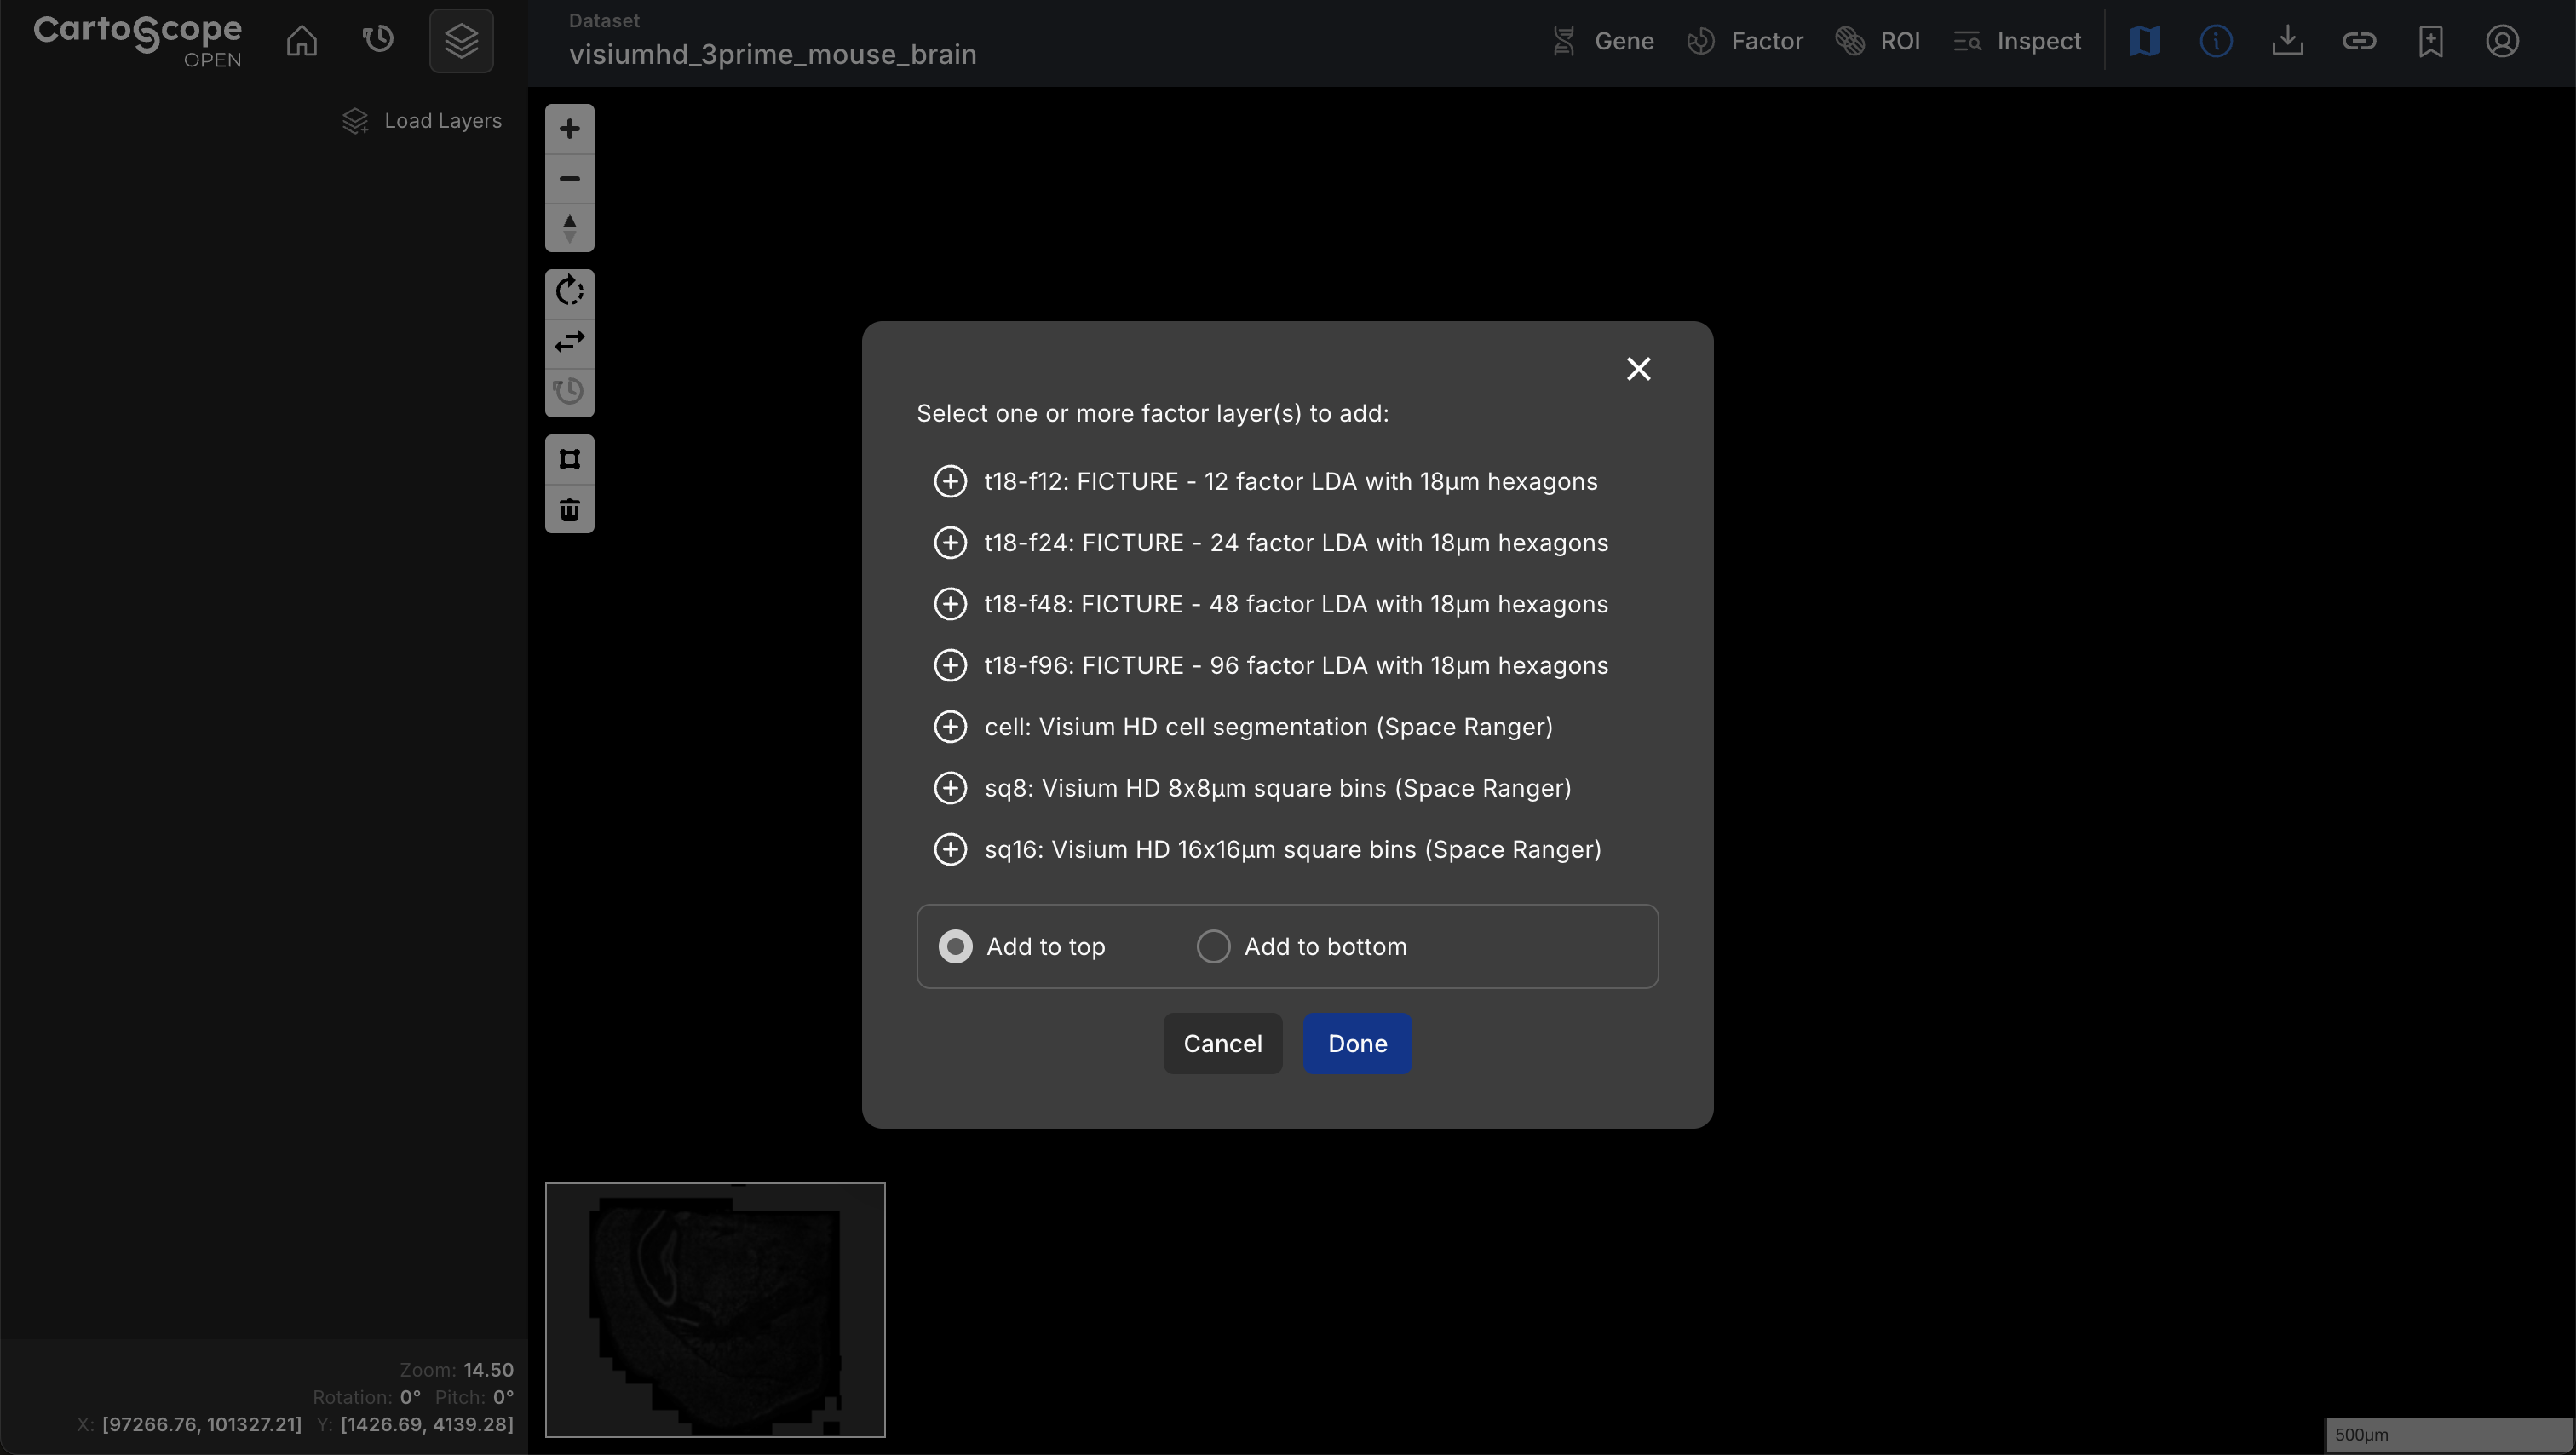
If you choose Factor Layer from the Load Layers menu, the factor selection dialog will open.
You can add one or multiple factor layers to your view by clicking the + button next to the layer name.
2.3. Gene Layers
Alternative Method
You can also add a gene (group) layer via the Gene Drawer. See more details in:
If you choose Gene (Gene Group) Layer from the Load Layers menu, the gene selection dialog will open.
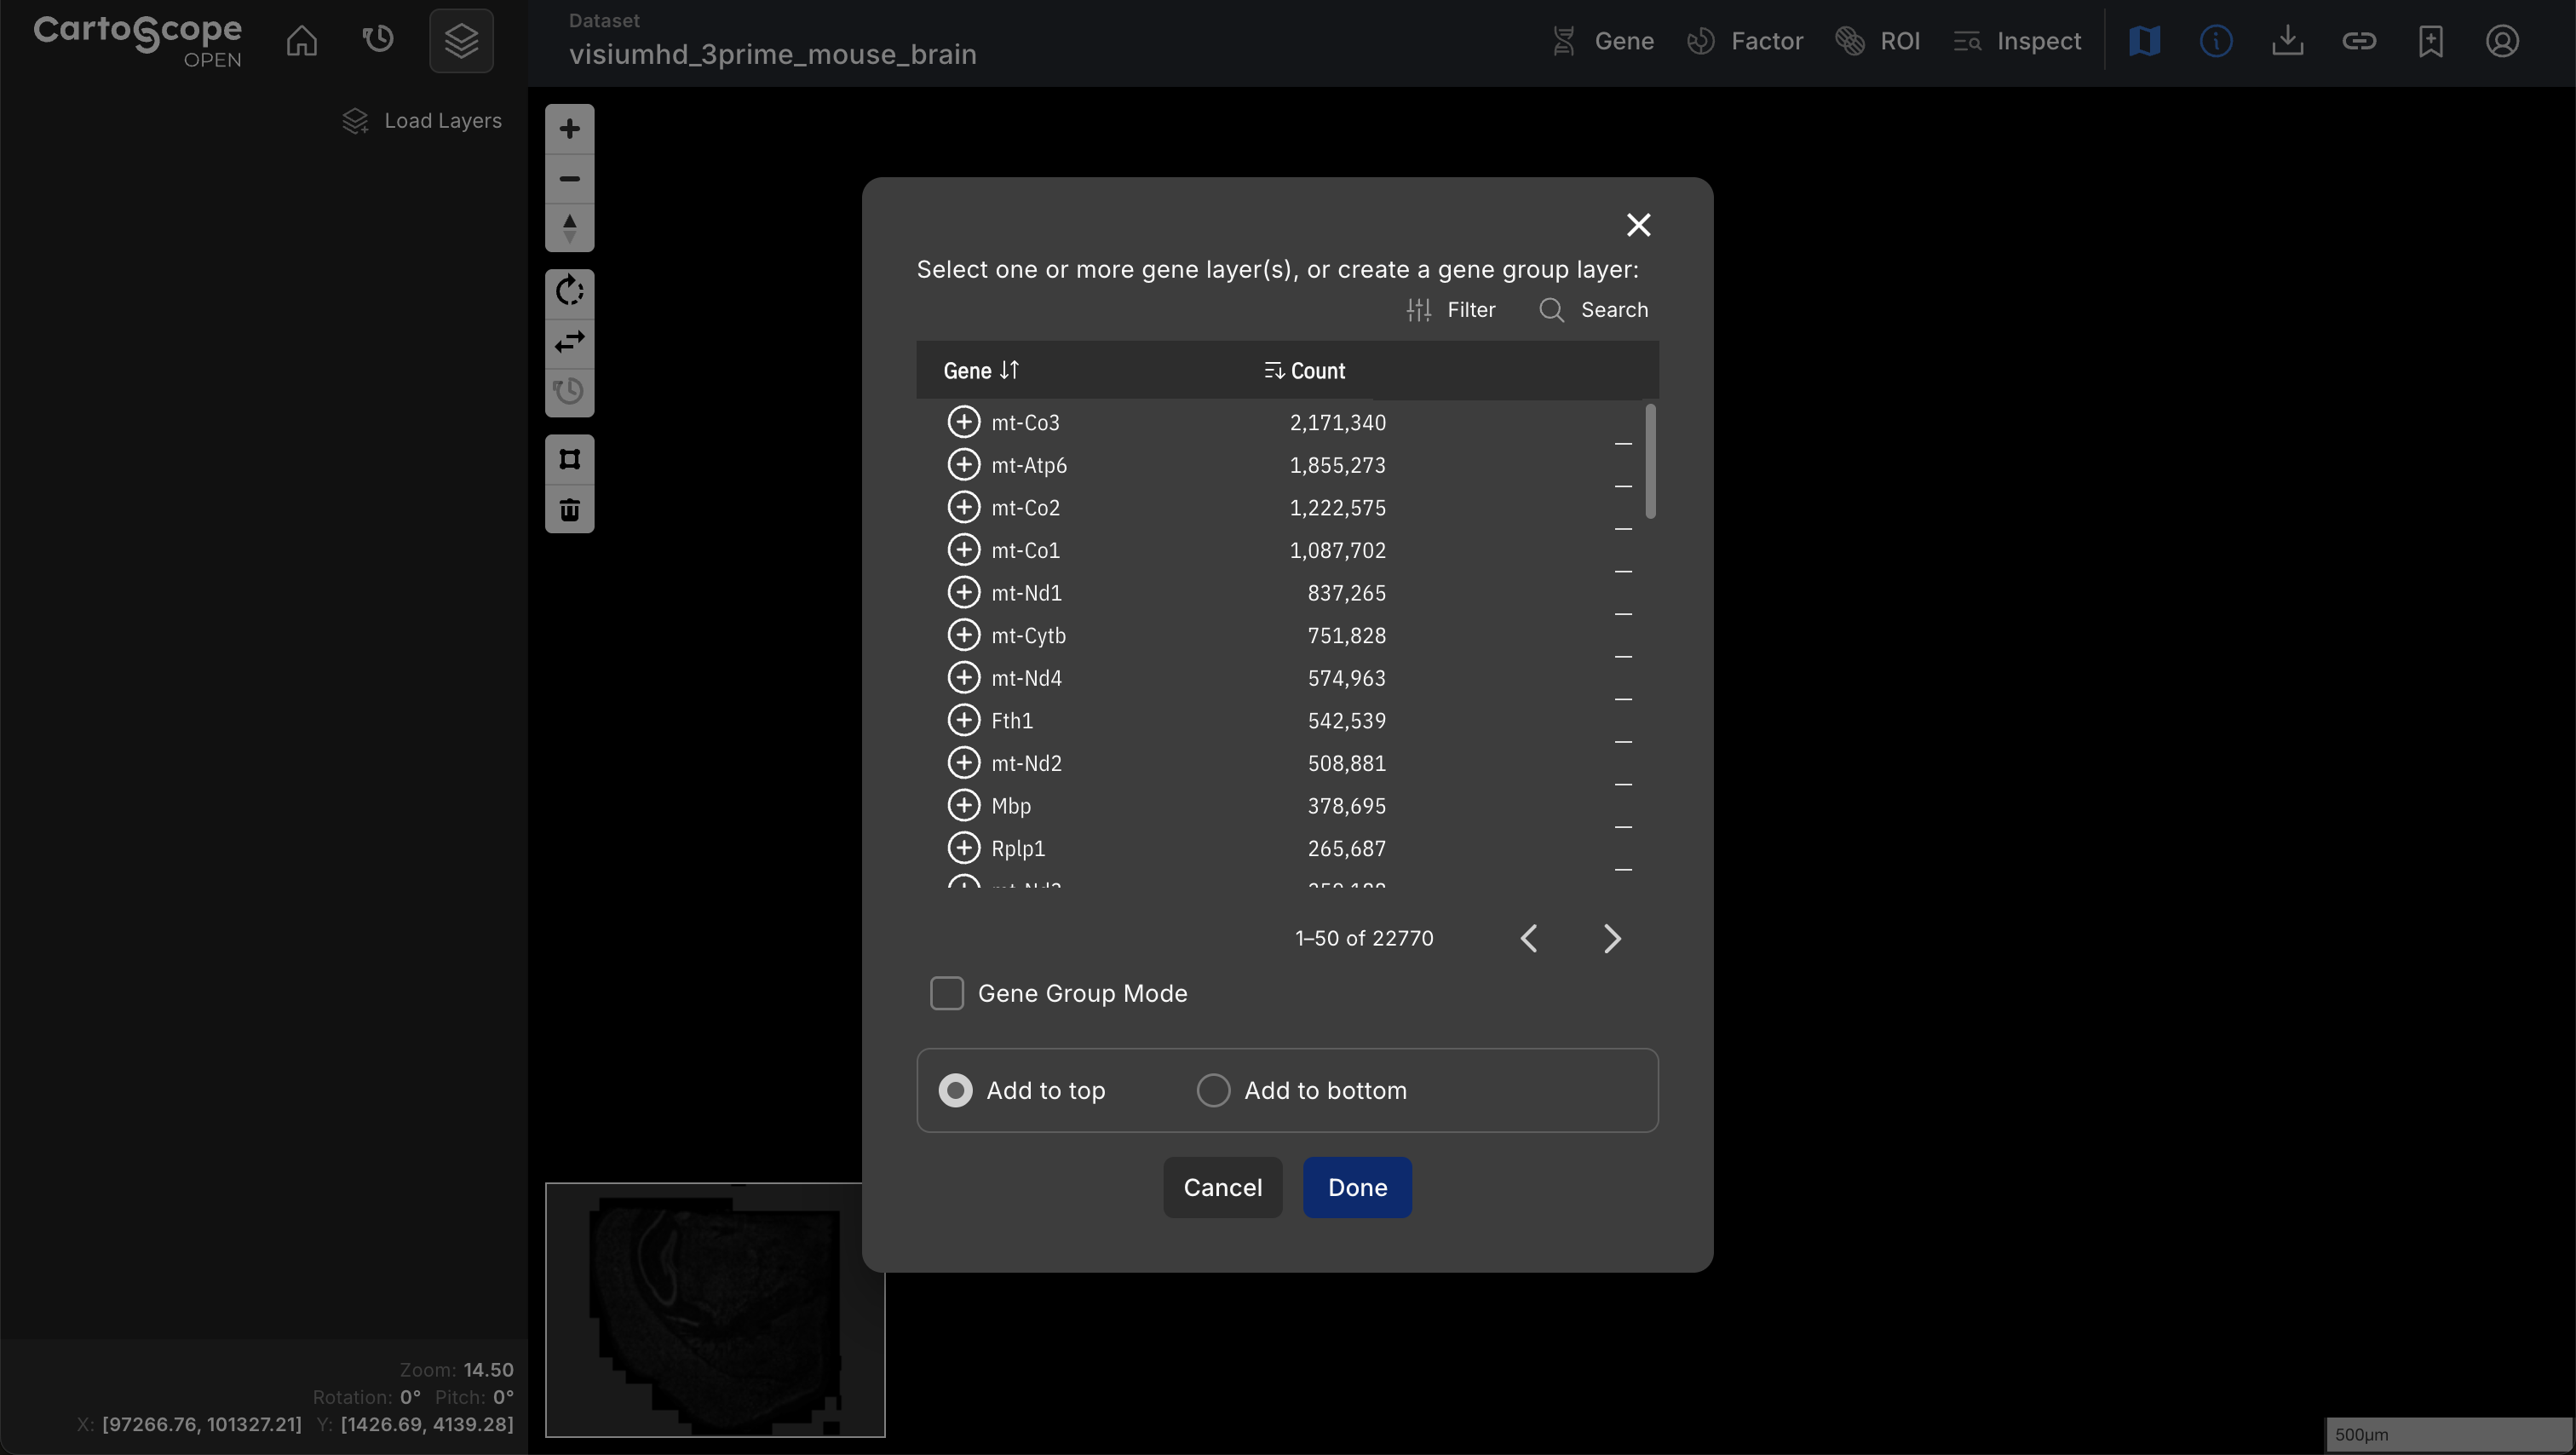
You have two options to add gene layers: add a layer with a single gene or add a layer with a gene group.
2.3.1. Single Gene
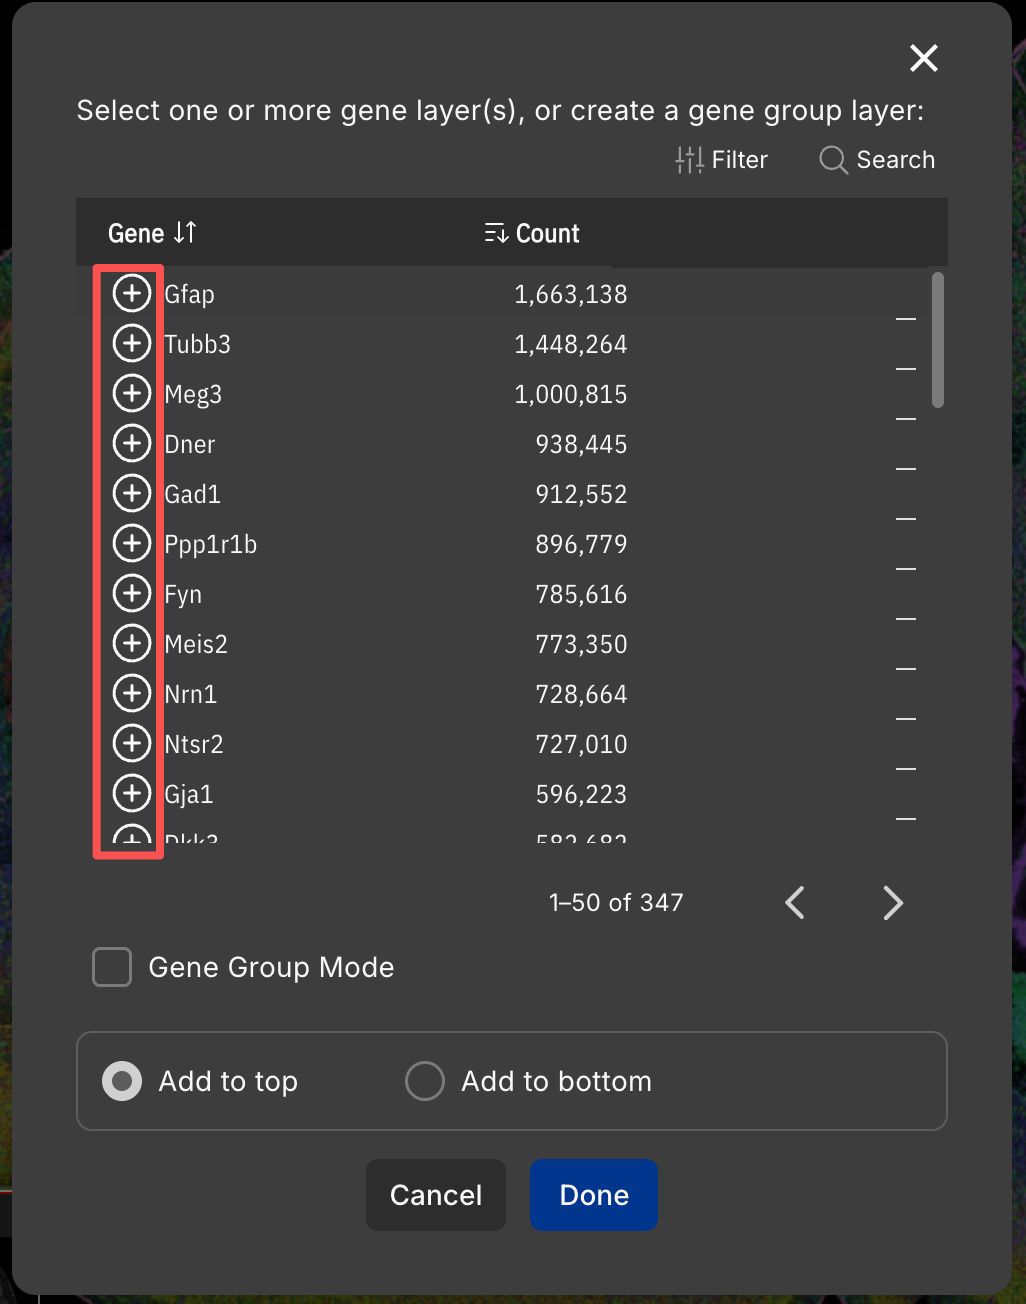
To add a layer with a single gene, click the + button next to the gene name.
2.3.2. Gene Group
To add a layer with a gene group, click the Gene Group Mode button. This will switch the dialog to gene group mode, which allows you to select more than one gene.
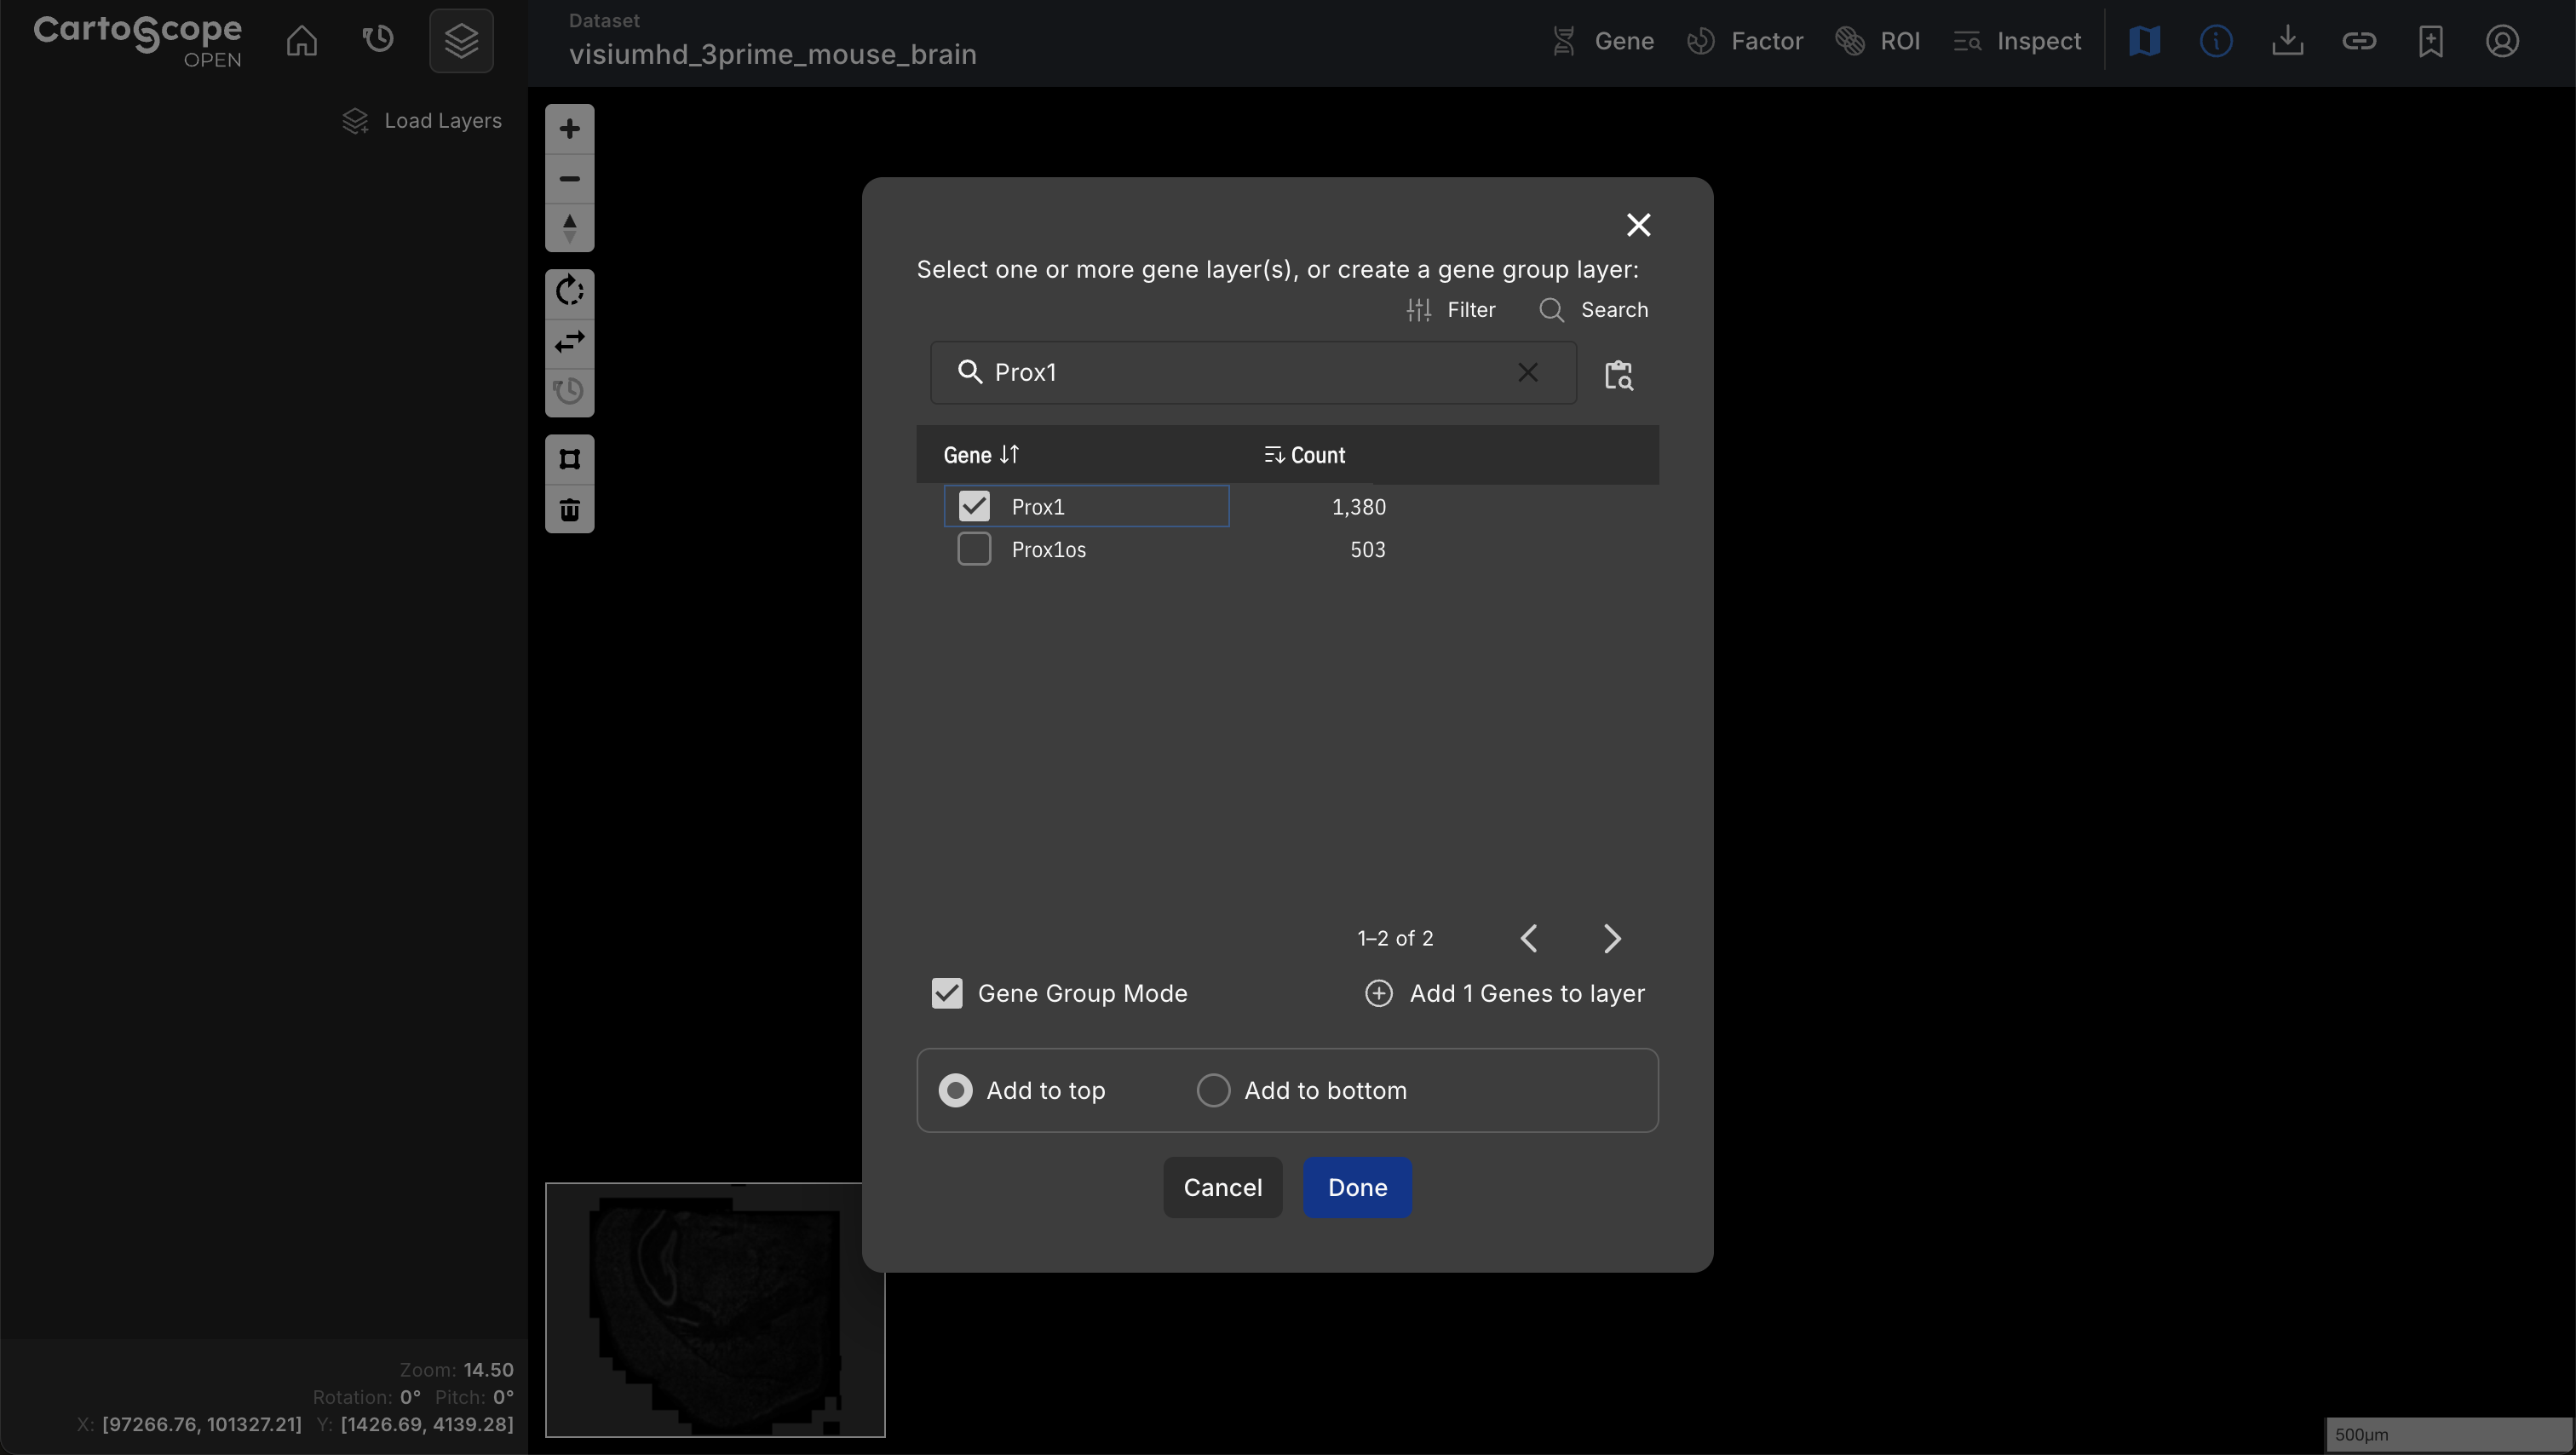
- Use the search bar or filtering function to select the genes you want.
- Check the box before the gene name to select it.
- The total number of selected genes will be displayed below the gene list as Add N Genes to layer (where N is the number of selected genes).
- Click the Add N Genes to layer button to add the selected genes to the layer.
- When finished, you can close the dialog.
Related Pages
Concepts
- What are Layer Types?
- What is Typical Background Layer Naming Scheme?
- What is Typical Factor Layer Naming Scheme?
Manual Pages